This is from my old place, but I just realized I never shared it here. It is a tutorial to make easy panel curtains. I need to make another big set of them, but I love them so much they are definitely going to look awesome in the new place!


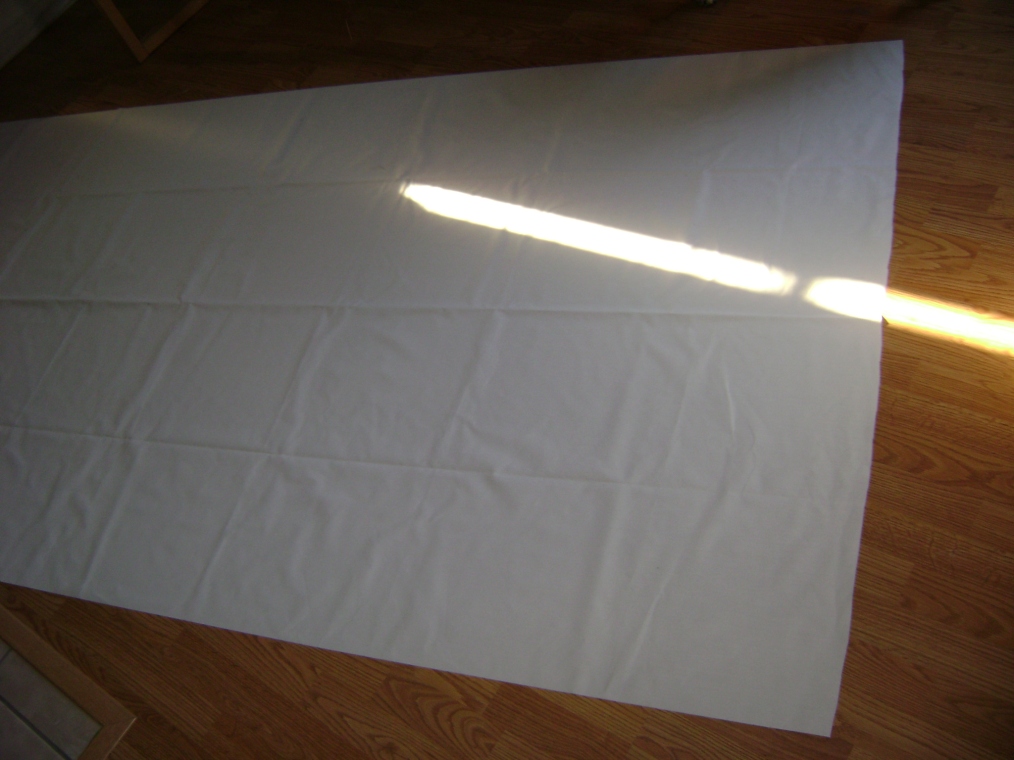
I placed the lining fabric on the floor and smoothed it out. I used a blackout lining which felt kind of like plastic and was afraid to press it. In the end all the wrinkles worked themselves out. I placed the lining with the right side facing down.


I had a friend come over and teach me how to make panel curtains. I used hardware I bought from Ikea that the curtains clipped onto, so I didn't even need to make a pocket for a rod. The results were beautiful, and I wanted to share her method with you.

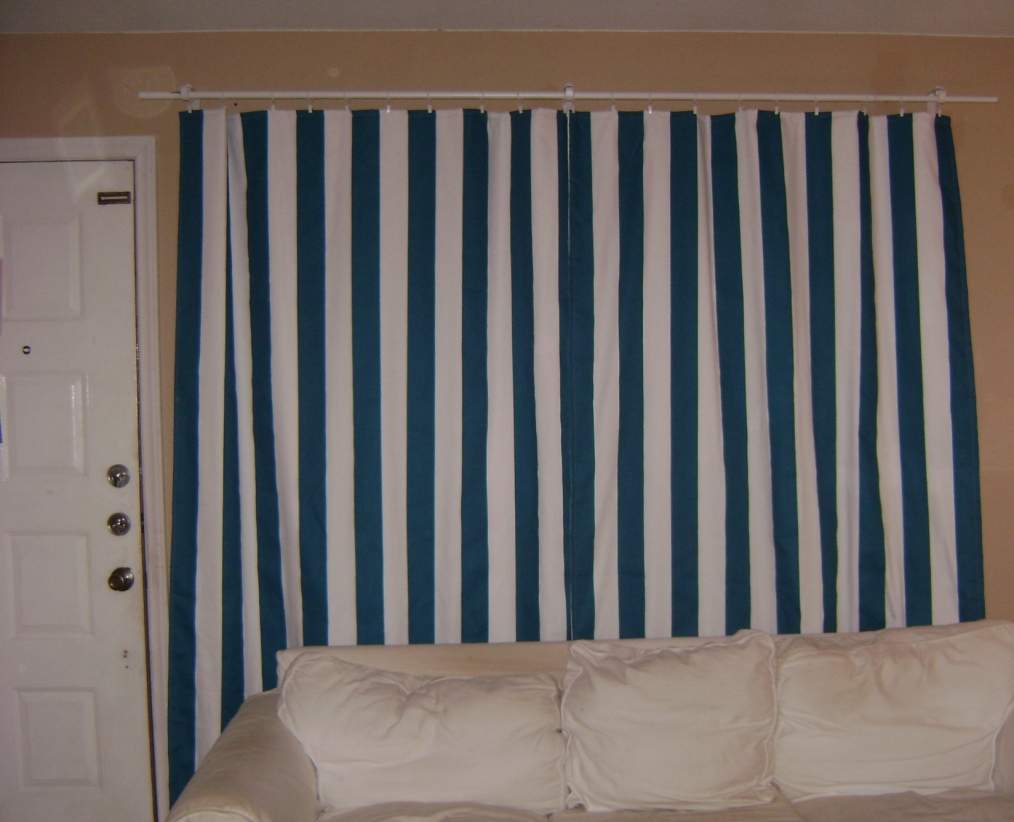
The fabric is the same color blue as my table cloth and valance. They make my living room feel bigger and finished.

Here is the before shot. There was nothing wrong with the old curtains, but they were so dark. They were also thinly lined and that window gets direct sunlight in the afternoon. I also have a window next t the brown couch you can't see that had no curtains at all. It's just one of those things I always meant to get around to.

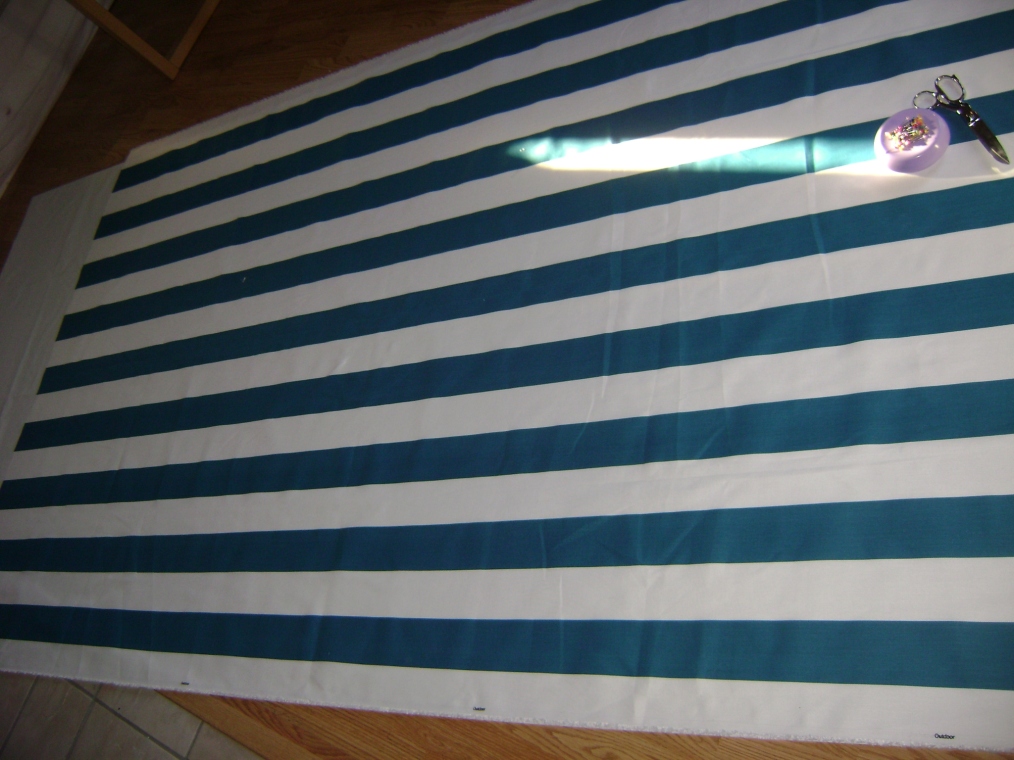
There wasn't a specific method to measurement on this, but I would estimate we cut the fabric and lining 10 inches longer than the length of the window. I did not cut the width of the fabric. I used the full panel. Both the fabric and the lining measured 54 inches. I used two full panels on my 75 inch window and one panel cut in half on my 36 inch window.


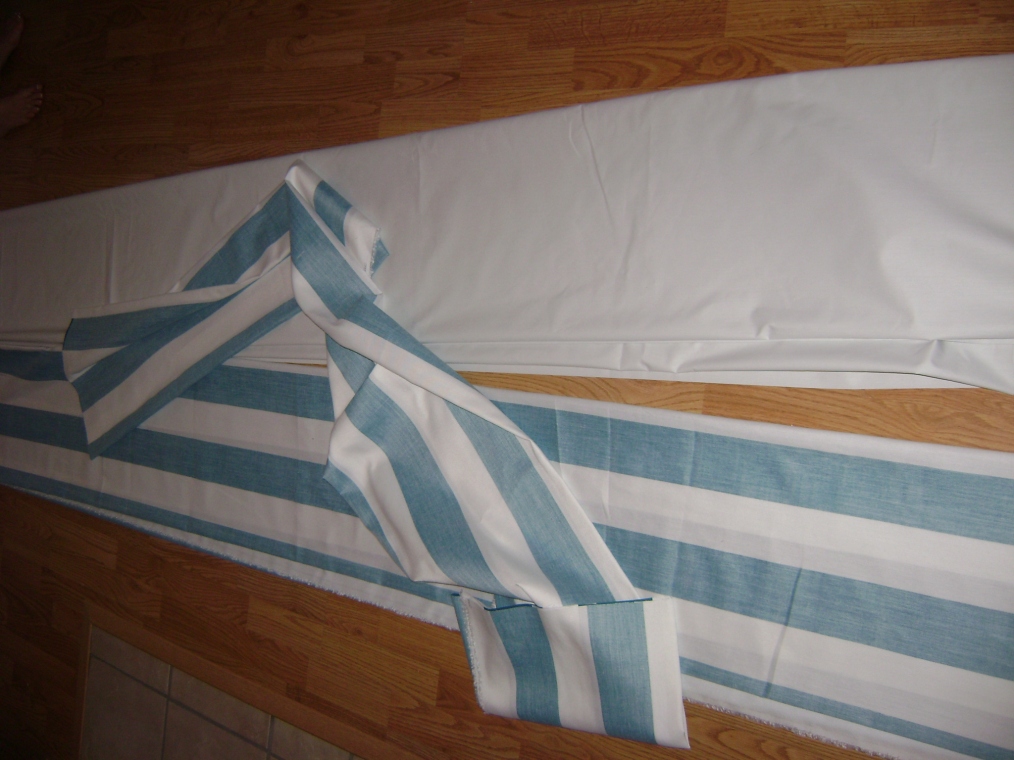
Next place the fabric on top right side facing up. Your lining and fabric should right wrong sides together.

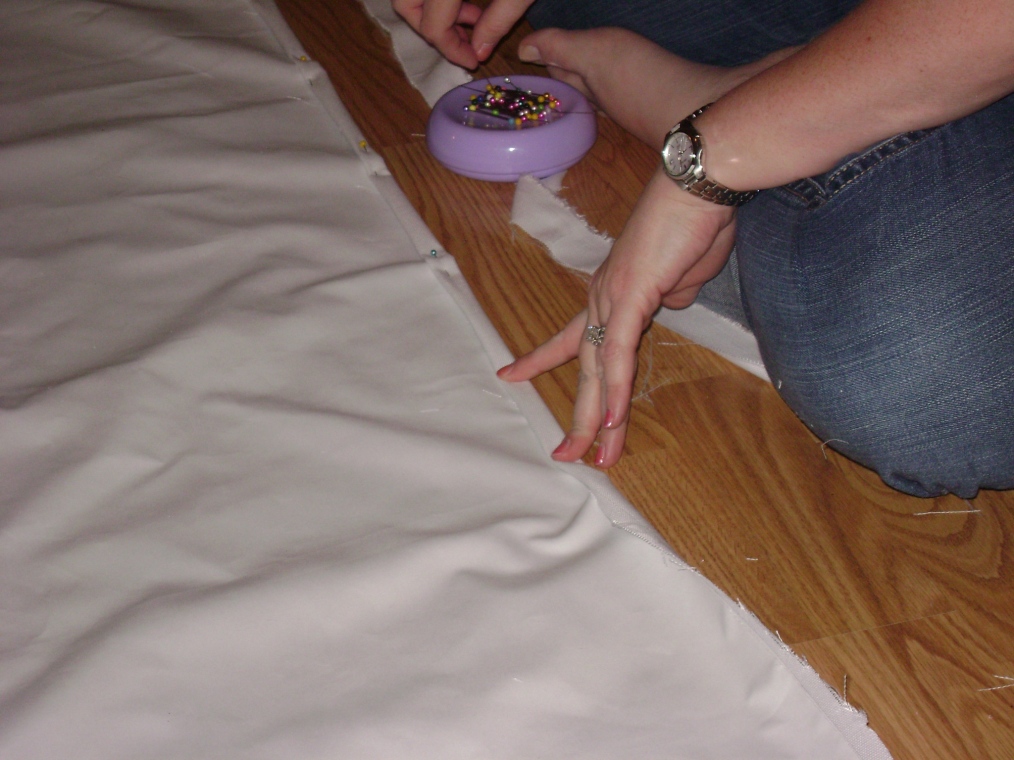
Then I pinned the fabric together along the two long sides and one short side.

Next slowly baste the fabric and lining together along one short side and one long side. It was nice to have a second person to help me deal with that much fabric. It wasn't hard to do, but it was heavy. Also, I found sewing with the fabric side up kept me from stretching out the lining as I went.

Now lay it back out and check the pins on your remaining side. If any ripples formed readjust the pins and continue basting the other long and short side. As you can see, I got some ripple in mine. Once your fabric is basted you will treat it as one piece of fabric.

If you are making two panels out of your one piece of cloth this is the time to cut it as needed and go ahead and baste the fabric together again on the newly cut edge.

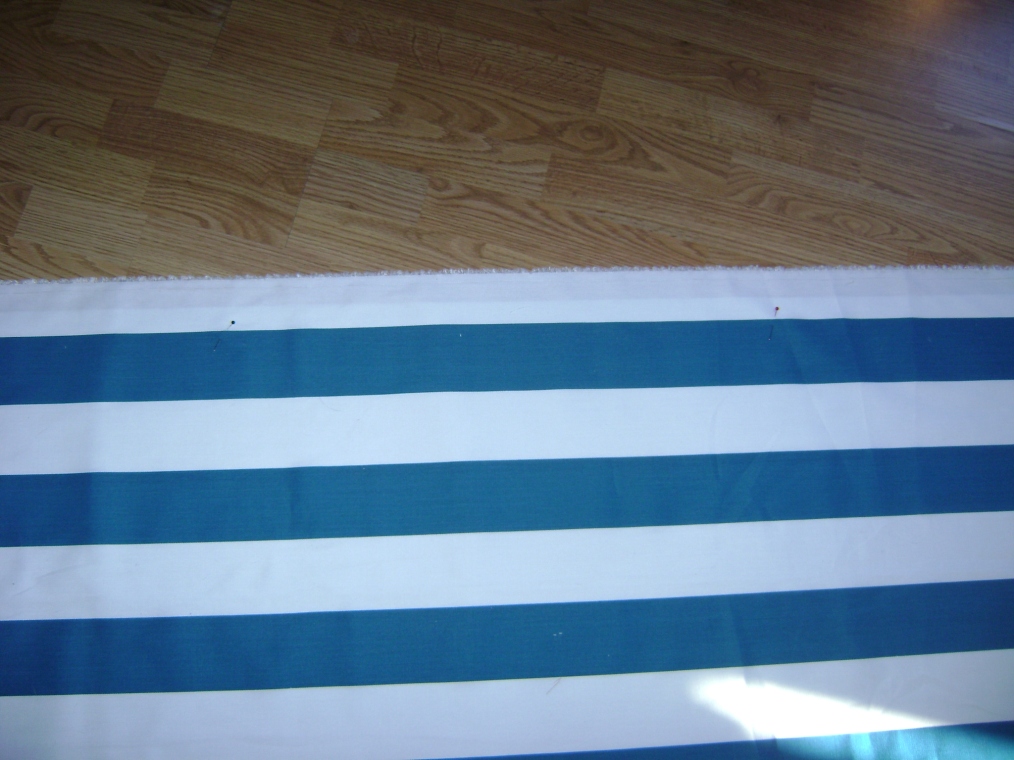
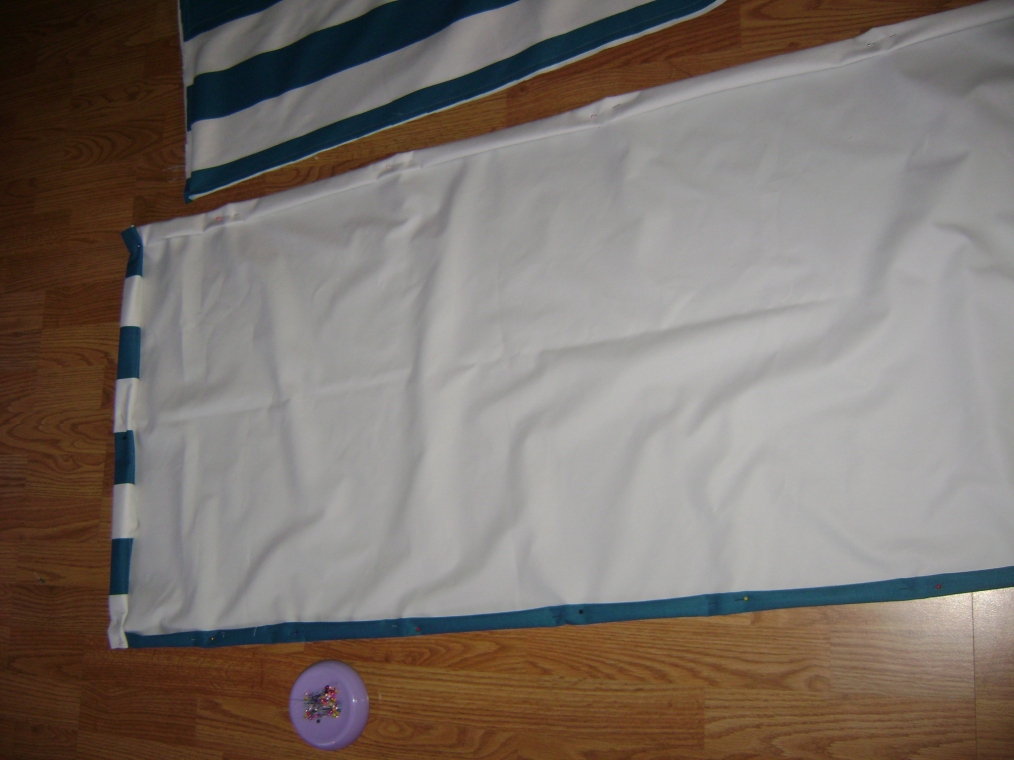
Trim off any excess fabric or lining that may happen. I did not get very much of extra to trim off. Next I double folded the fabric to hide any raw edges and pinned it around both long sides and one short side. Because I had striped fabric, I cheated. I did not measure. I simply followed the edge of a stripe to ensure it would be straight. Making striped curtains really has its benefits!

I can't resist a shot of my assistant wondering if we will ever get to stop pinning! When you are finally done pinning go ahead and sew all the way around where you just pinned.

I laid the panels out again at this point to check for anything weird, but everything looked good.

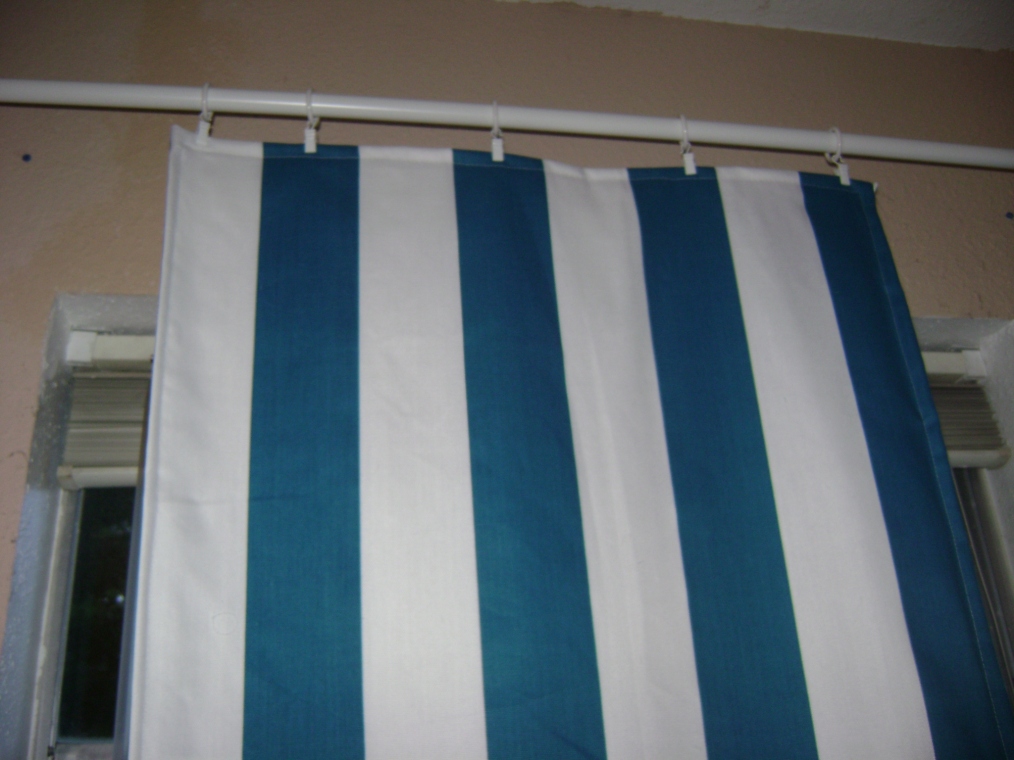
Now go hang your panel up. You finally get a peek at how your curtains will look! This is also how we hemmed them.

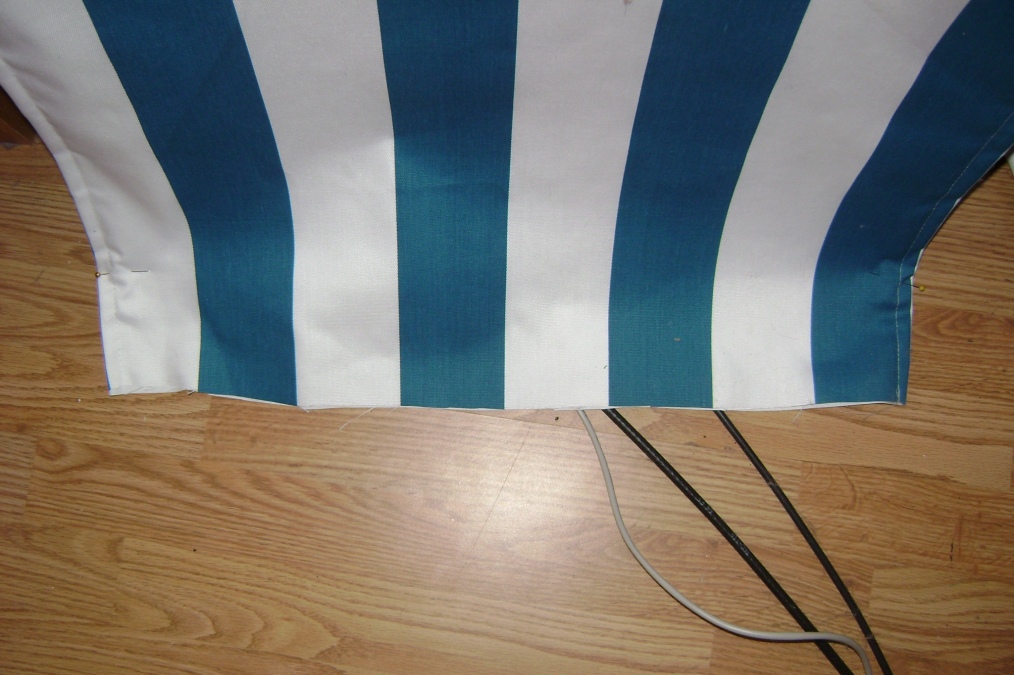
Pull the bottom of your curtain a few inches out from the wall and pin along the bottom where it is touching the floor. My friend Holly said that is how you get a hem that will just skim the floor. It worked! If you look closely you can just see a pin on each side. If you are hemming a wider curtain you will want more than two pins. For some reason I just got better pictures of the thin paneled curtain hem.

Take the curtain back down and head to your machine to hem it. I left my pin in and simple double folded the curtain so that my pin was still at the bottom. Next I stitched all the way across. Again, with a wider panel we used the same concept. We just pinned more and went a little slower.

Now you have custom made floor skimming panel curtains! I completed this project over two evenings. I would say total time spent on all curtains was about five hours. It is not hard just a lot of fabric to contend with.

Here is the view of my side window curtains from behind my monster television. I have not jumped on the flat screen trend yet. I just love the look of the final results! I find myself standing in my living room and just looking at the difference these curtains made. I can also see my dining room from the living room and my living room from my kitchen, so having this blue in all the rooms provides a nice sense of continuity. I have some more leftover fabric again, so expect to see accessories!

Again, here is the front window with the large panels. Thanks for reading, and I hope you will share pictures of you make any of the projects featured here.
No comments:
Post a Comment