Pages

Tuesday, May 28, 2013

The crazy train to maxi town


That is a crazy print! I bought it from Fabric Mart to up shipping because it was a super cheap knit with some spandex content. I thought I could use it for toiles, but when I got it is was so soft and loud and I had to wear it all over.


This is my second version of McCalls 6559. You can read about my first one here. This is a really loud print, so I wanted a simple pattern to show it off. I knew this dress in a maxi version was the one I wanted to go with, but from my last experience I knew I needed to make some improvements.


First, I cut one size smaller that my measurements called for. I still wound up taking in about an inch and a half between the armpits and the waist! Also, to stop the neck and arms from stretching I hemmed them using a taut band and finished both off with a twin needle instead of just turning under.. I think that turned out phenomenal. The nice thing about this print is I just used whatever color I had a lot of, which was pink. Every color goes with this fabric!


Here is a fairly unflattering back view in which I look like a column. It is still not fitted, but I like it that way. I might also add a belt when wearing it out and about.


I wound up with a super comfortable and cool maxi dress that doesn't grow as I wear it.  Of course my assistant had to take some credit. 


Now a sneak peek....I just got my grubby little hands on this awesome pattern from Megan Nielsen, the Tania. I know what you are thinking...culottes, wtf? I'm dying to see them made up. Does it really look like a skirt? What if I face the camera with feet hips width apart? Will it still look like a skirt? If so, I will wear the crap out of this pattern. My job consists of lots of crawling around on the floor, and this would solve all the problems.


Monday, May 20, 2013

Sweet boy baby gift


I finally finished and gave my jungle quilt to my teacher's aide at work. Surprise! It was not something someone commissioned at all. I do this weird thing where I think everyone reads my blog and go into ninja mode. Guess what, ninja mode has never paid off. Anyway. This was made as a birthday gift for my aide who is an amazing lady and a grandmother to many happy children. The latest was a boy, who totally blew my gift giving by not only beating me out on getting closer to her birthday than I did but also arriving several weeks early. Thankfully he is perfect and is soon to find out he has the best grandmother in the world.


It was really rainy for a few days and time was of the essence in actually giving a month late birthday gift, so excuse the poor light I fell in love with this book panel, which is what inspired me to make a matching quilt. The book is called Jungle Alphabet and features a few of the little animal characters. I just love watching how my aid goes over books and colors and numbers in class, so when I saw this book I could imagine her matching the animals and doing the alphabet with all the little kiddos. 


The pages of the book are simple animal names to make up the alphabet. Some of the featured characters show up as the little stuffed dolls.


The center of the book is a pocket where all the characters can live when not being used.


I may regret it, but I used that aqua voile to line and bind the quilt against your advice everyone. It just matched so perfectly and was so soft. It will be nice for a light blanket which is all we ever need in Houston.


I hope the kids love that quilt as much as my other assistant love Mr. Thinks He Can's Christmas quilt. 


Saturday, May 4, 2013

Beachy Striped curtains

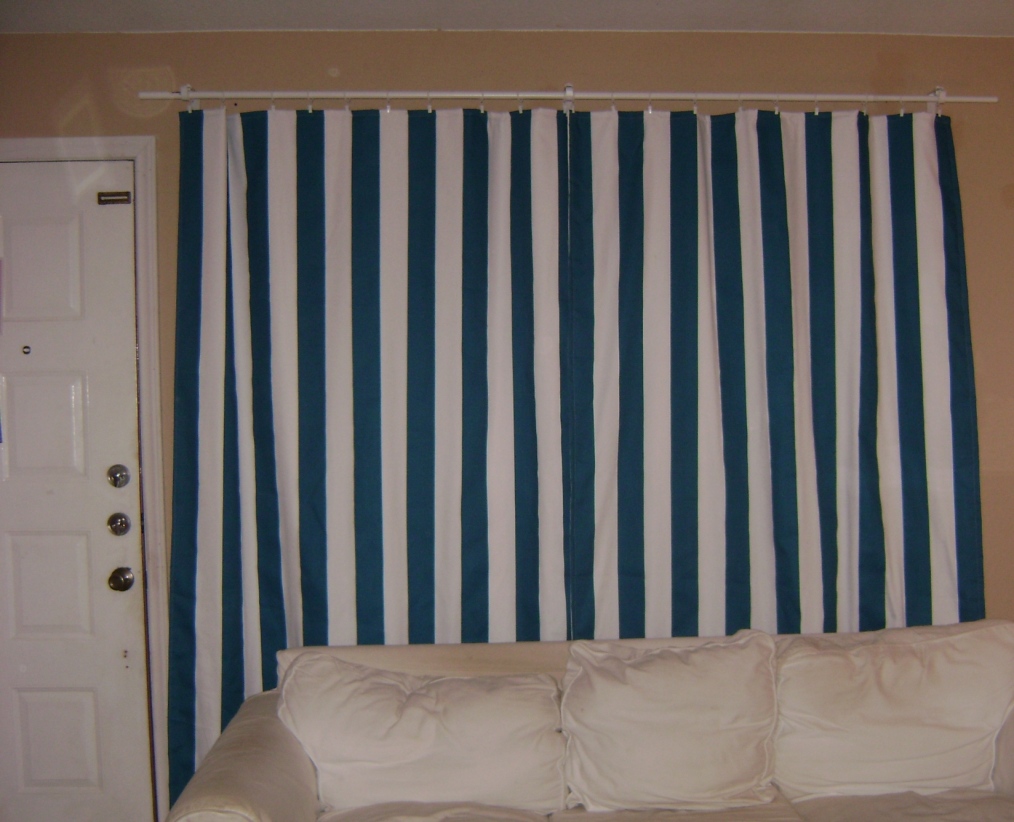
This is from my old place, but I just realized I never shared it here. It is a tutorial to make easy panel curtains. I need to make another big set of them, but I love them so much they are definitely going to look awesome in the new place!

I had a friend come over and teach me how to make panel curtains. I used hardware I bought  from Ikea that the curtains clipped onto, so I didn't even need to make a pocket for a rod. The results were beautiful, and I wanted to share her method with you.

Image

The fabric is the same color blue as my table cloth and valance. They make my living room feel bigger and   finished.

Image

Here is the before shot. There was nothing wrong with the old curtains, but they were so dark. They were also thinly lined and that window gets direct sunlight in the afternoon. I also have a window next t the brown couch you can't see that had no curtains at all. It's just one of those things I always meant to get around to.

Image

There wasn't a specific method to measurement on this, but I would estimate we cut the fabric and lining 10 inches longer than the length of the window. I did not cut the width of the fabric. I used the full panel. Both the fabric and the lining measured 54 inches. I used two full panels on my 75 inch window and one panel cut in half on my 36 inch window.

Image

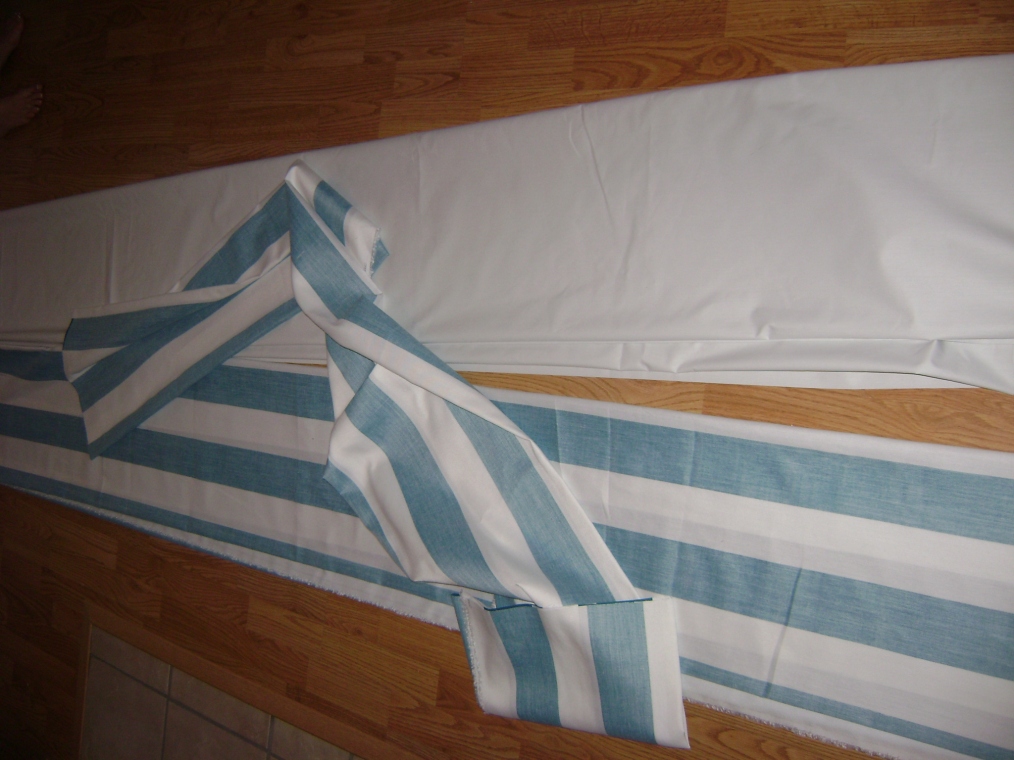
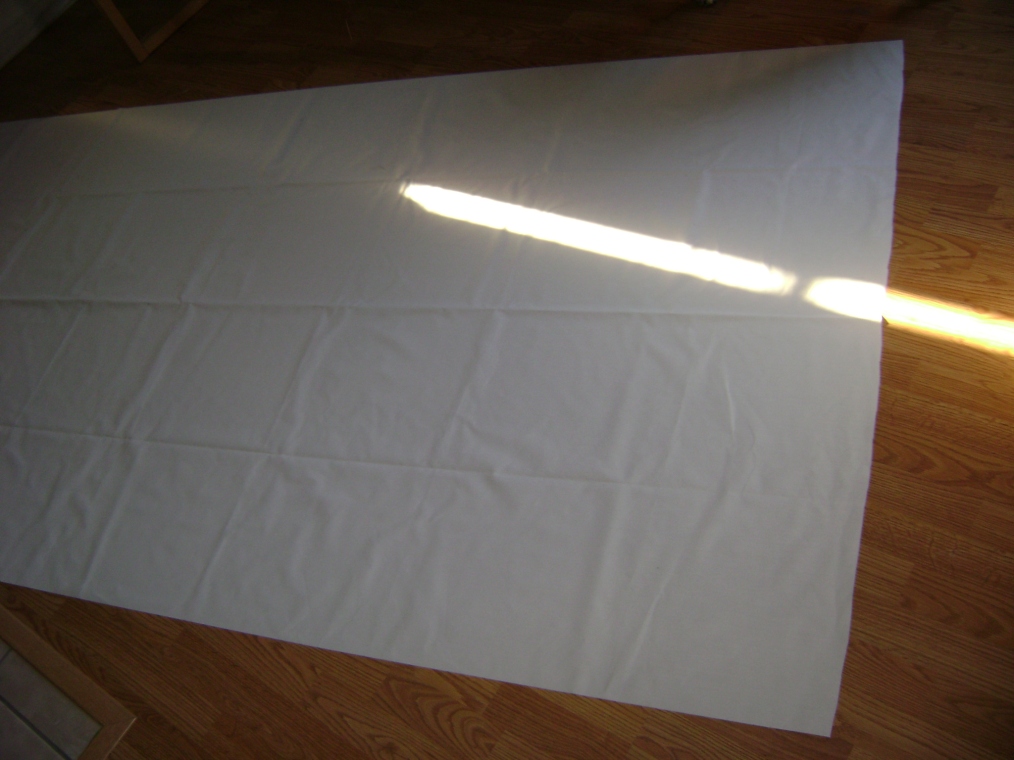
I placed the lining fabric on the floor and smoothed it out. I used a blackout lining which felt kind of like plastic and was afraid to press it. In the end all the wrinkles worked themselves out. I placed the lining with the right side facing down.

Image

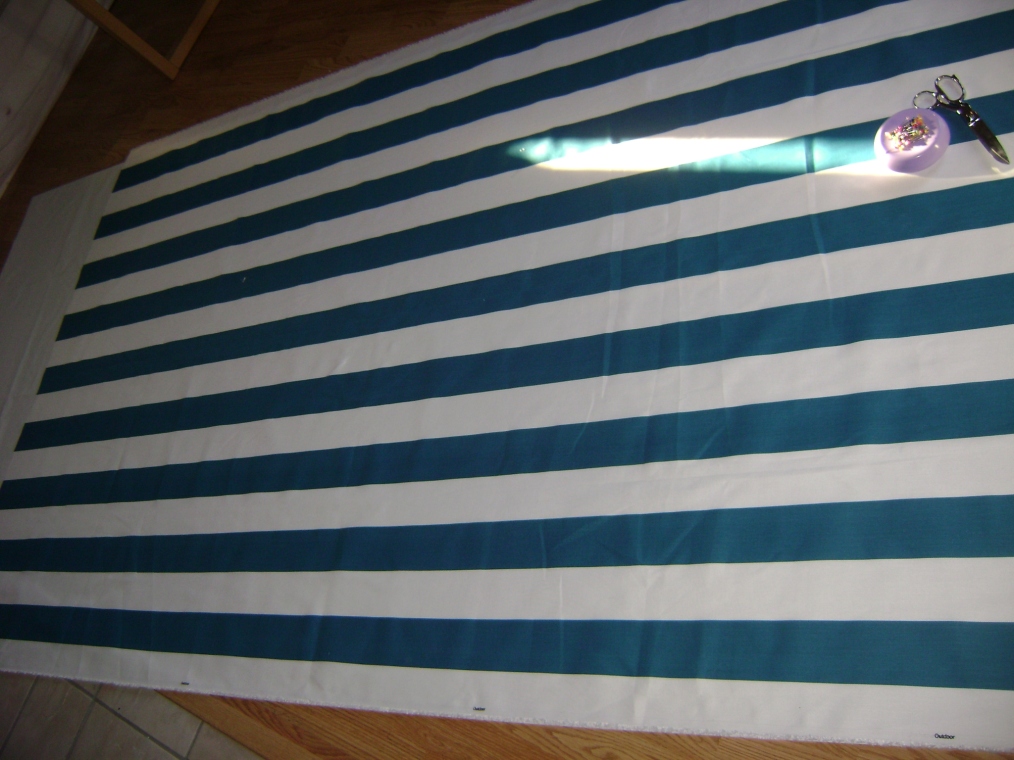
Next place the fabric on top right side facing up. Your lining and fabric should right wrong sides together.

Image

Then I pinned the fabric together along the two long sides and one short side.

Image

Next slowly baste the fabric and lining together along one short side and one long side. It was nice to have a second person to help me deal with that much fabric. It wasn't hard to do, but it was heavy. Also, I found sewing with the fabric side up kept me from stretching out the lining as I went.

Image

Now lay it back out and check the pins on your remaining side. If any ripples formed readjust the pins and continue basting the other long and short side. As you can see, I got some ripple in mine. Once your fabric is basted you will treat it as one piece of fabric.

Image

If you are making two panels out of your one piece of cloth this is the time to cut it as needed and go ahead and baste the fabric together again on the newly cut edge.

Image

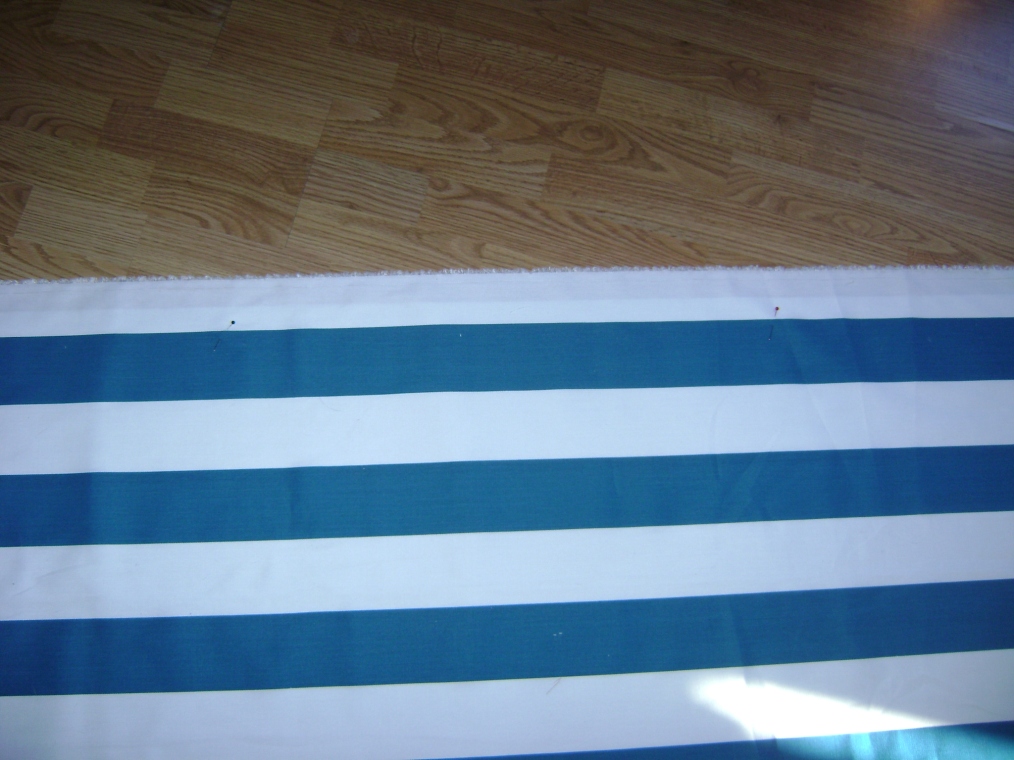
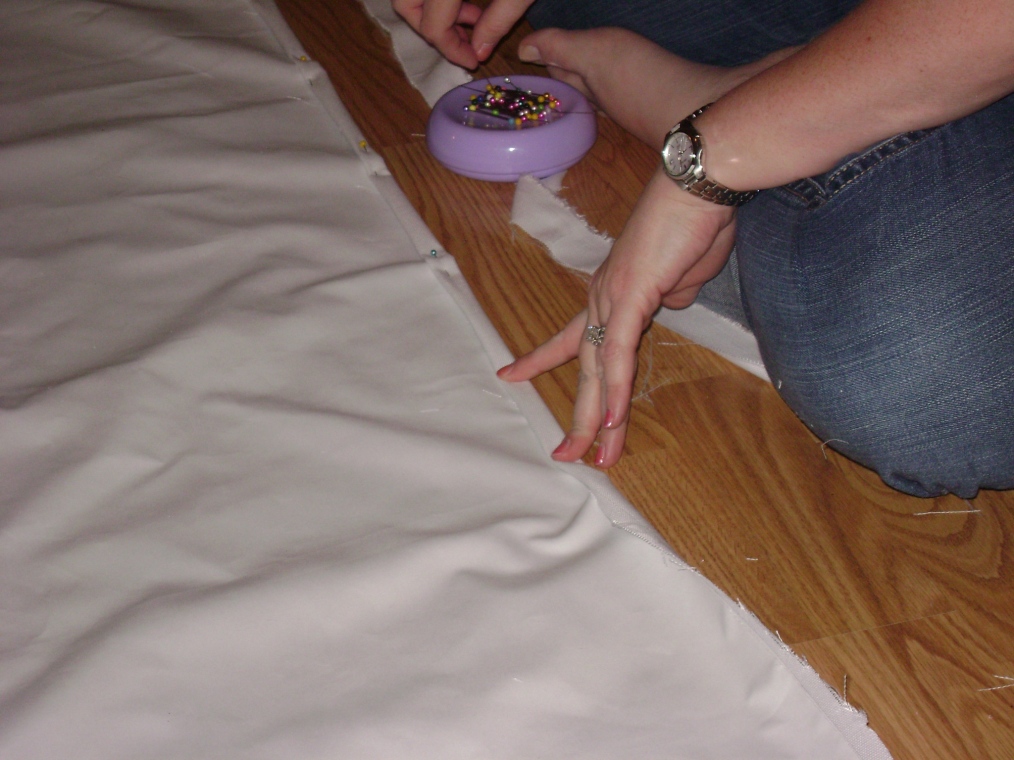
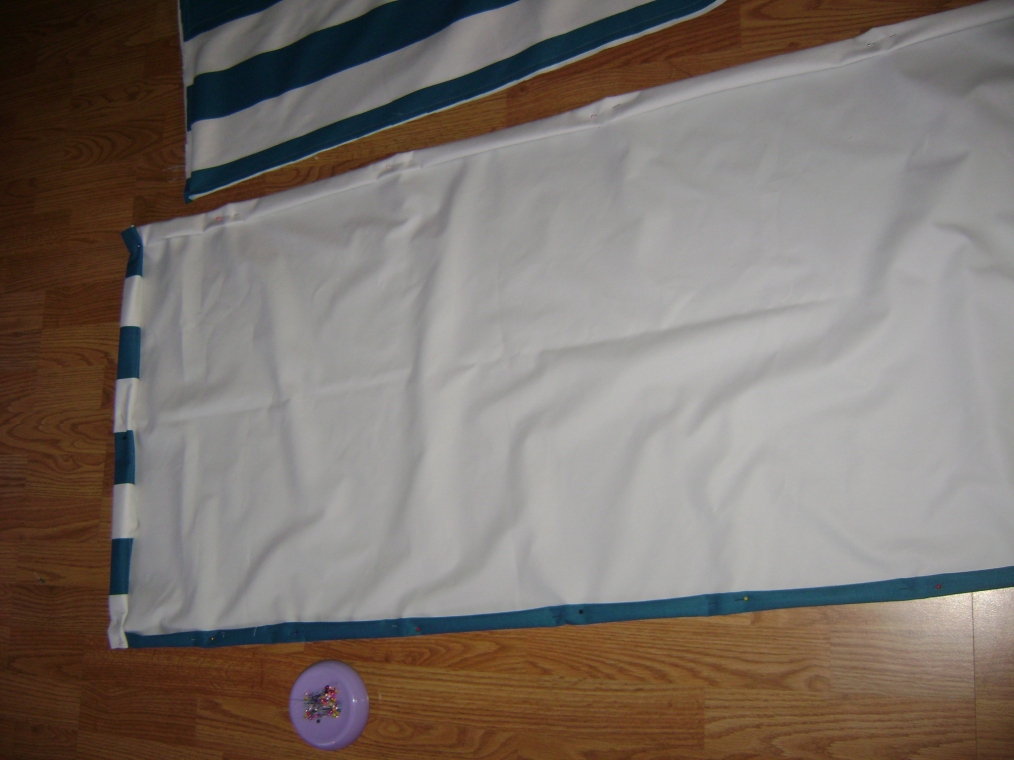
Trim off any excess fabric or lining that may happen. I did not get very much of extra to trim off. Next I double folded the fabric to hide any raw edges and pinned it around both long sides and one short side. Because I had striped fabric, I cheated. I did not measure. I simply followed the edge of a stripe to ensure it would be straight. Making striped curtains really has its benefits!

Image

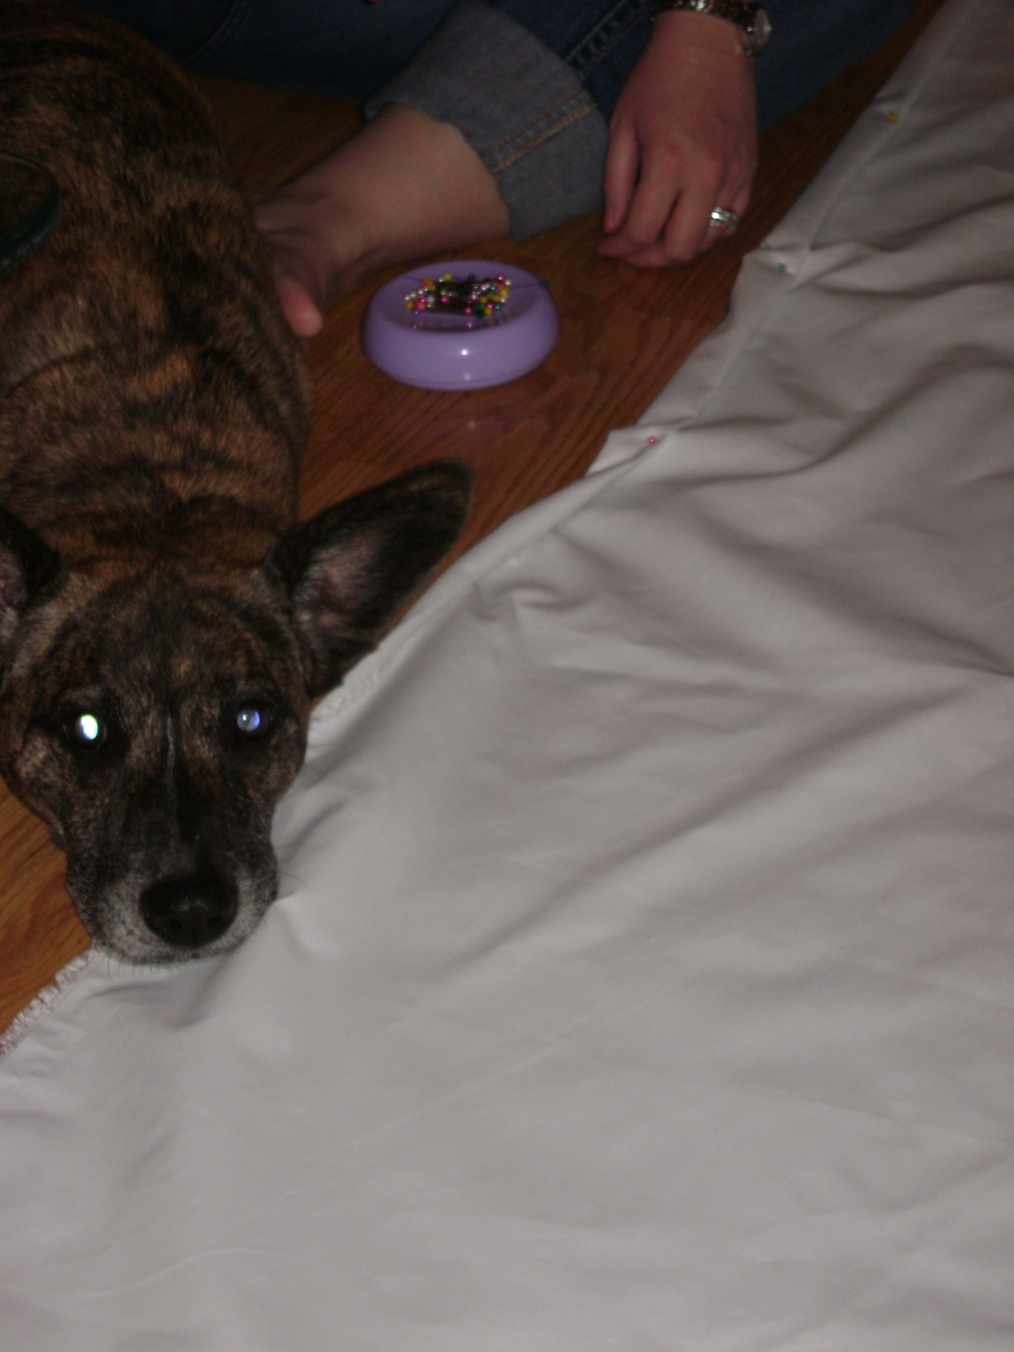
I can't resist a shot of my assistant wondering if we will ever get to stop pinning! When you are finally done pinning go ahead and sew all the way around where you just pinned.

Image

 I laid the panels out again at this point to check for anything weird, but everything looked good.

Image

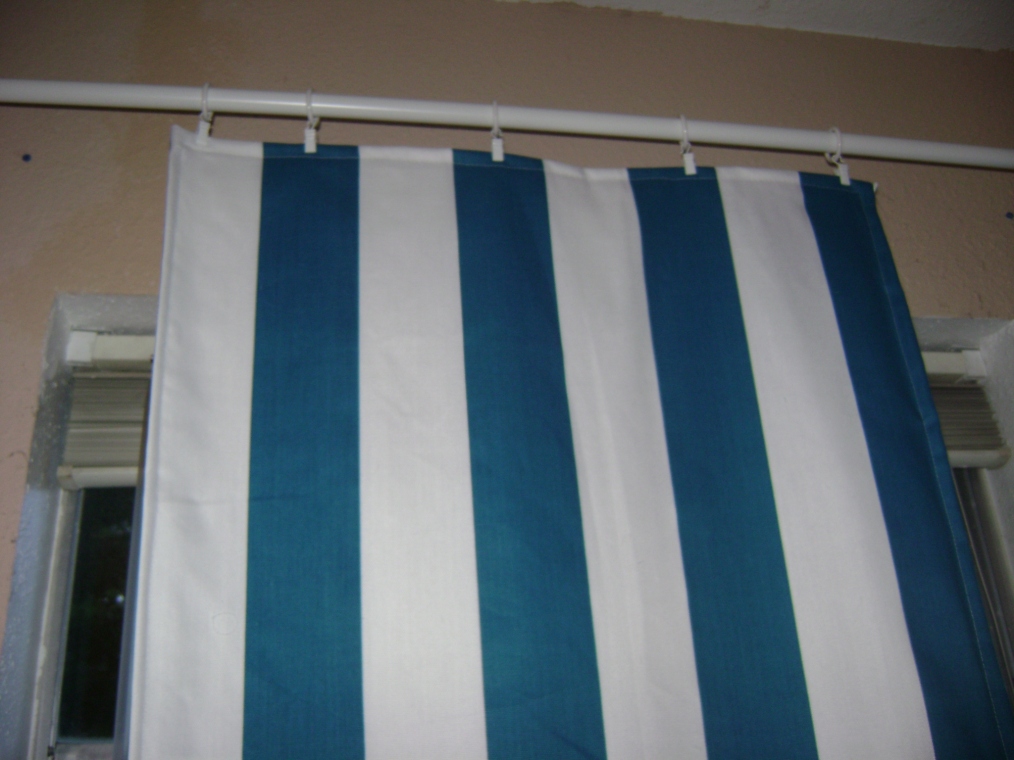
Now go hang your panel up. You finally get a peek at how your curtains will look! This is also how we hemmed them.

Image
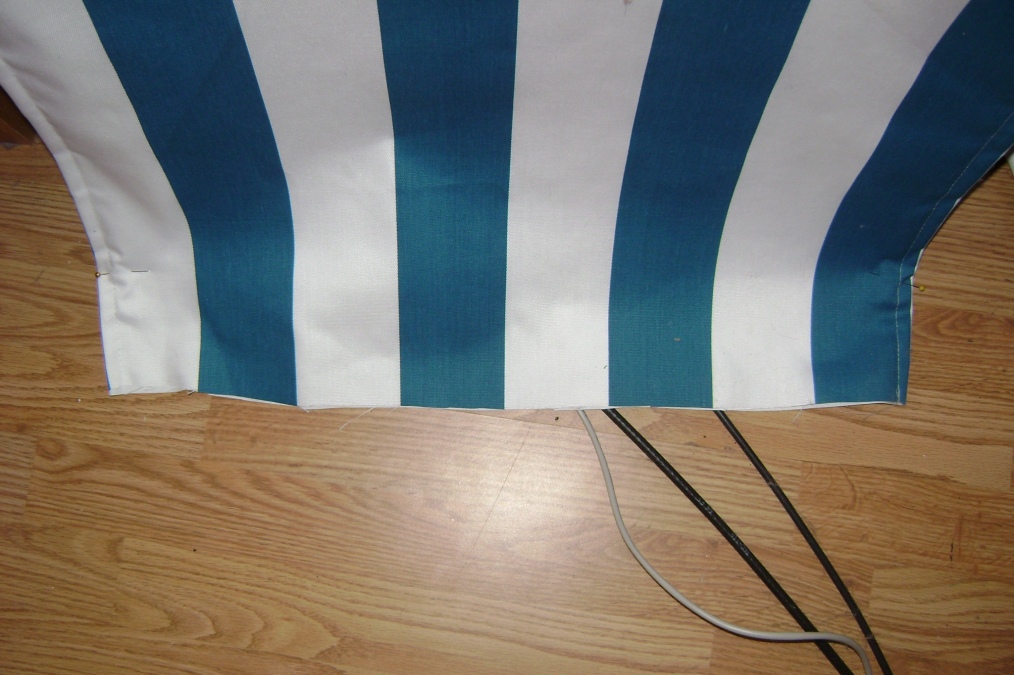
Pull the bottom of your curtain a few inches out from the wall and pin along the bottom where it is touching the floor. My friend Holly said that is how you get a hem that will just skim the floor. It worked! If you look closely you can just see a pin on each side. If you are hemming a wider curtain you will want more than two pins. For some reason I just got better pictures of the thin paneled curtain hem.

Image

Take the curtain back down and head to your machine to hem it. I left my pin in and simple double folded the curtain so that my pin was still at the bottom. Next I stitched all the way across. Again, with a wider panel we used the same concept. We just pinned more and went a little slower.

Image

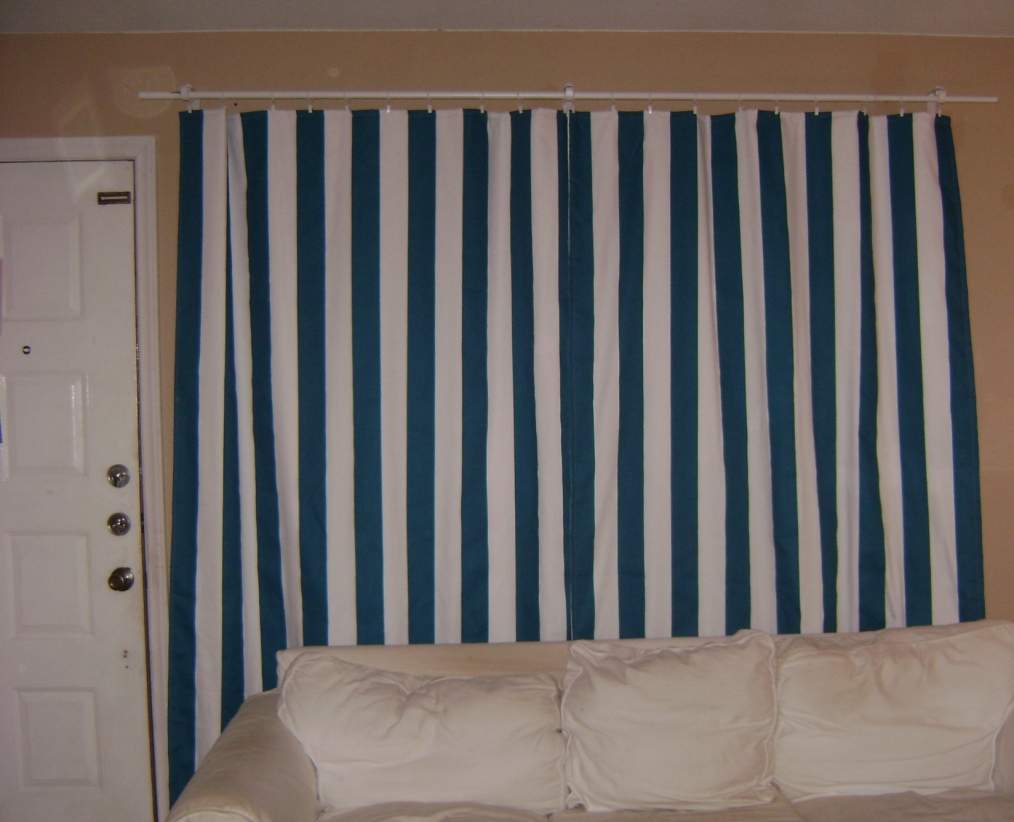
Now you have custom made floor skimming panel curtains! I completed this project over two evenings. I would say total time spent on all curtains was about five hours. It is not hard just a lot of fabric to contend with.

Image

Here is the view of my side window curtains from behind my monster television. I have not jumped on the flat screen trend yet. I just love the look of the final results! I find myself standing in my living room and just looking at the difference these curtains made. I can also see my dining room from the living room and my living room from my kitchen, so having this blue in all the rooms provides a nice sense of continuity. I have some more leftover fabric again, so expect to see accessories!

Image

Again, here is the front window with the large panels. Thanks for reading, and I hope you will share pictures of you make any of the projects featured here.

Success and the Laurel contest

I'm really glad Colette had the Laurel contest. I didn't really think much of the dress at first, but dangling a carrot in front of me is always a good way to get a response. The dress turned out to be pretty flattering and a fun make.


I have been working since Thanksgiving to lose a little weight and am at about a 30 pound loss right now. I am finding it hard to find motivation to make much in the way of clothing because I am out shrinking my clothes. The last time I wore my Clovers that were such a killer fit, my husband told me I looked sick. But not the good kind of sick. I think the Laurel is the first thing I have really made myself in a while. It is nice to have a fitted garment and to see how my dress size has changed. Also, a dress I didn't think would be cute on me at all actually turned out to be awesome! So while I don't expect to win anything (have you seen some of the entries?!?!) I'm really glad to have been encouraged to try something new. Oh yeah, and to have some clothes that don't make me look sick! 


I bought these fabric for more Laurels. It is a very light weight sheer fabric. I think I will add some sleeves. I love that red one even more in person!


Also, I have some home decor fabric waiting to be made up. I need to make more of my blue and white curtains. The above fabrics will be in the master. From top to bottom I have drapes, comforter and finally the dust ruffle. We painted the house a very neutral color, so all these vibrant colors should look amazing. Now, I am just waiting for the tile in the washroom to be sealed and dry so I can prewash everything. The wait is driving me nuts!!!!