I hit them all! Check it out...

Multiple pieces went into this shirt, but I love the end results so much!
First, I love Nanette Lepore's lace over orange theme she has going on.

The above image is her Pep Rally Dress. I really like how the lace tones down the orange.
Second, I had a Groupon for Mood Fabrics burning a hole in my e-mail that I decided to spend on the lace I really liked (way too expensive otherwise) as well as some sateen for some Sallie Oh inspired Clovers.
Third, when I got the lace I knew I had to make use of the scalloped edges.
So, I went to a pattern I really like with simple lines, Simplicity 2599. I skipped the embellishments, but I really like the fit of the pattern over all.

I lined the shirt with a bright orange Voile, but left the sleeves as just lace.
 I also hemmed the lining a couple inches shorter than the lace to help showcase the scalloped edges.
 I did the same on the front and the back.
Now if you are interested I took some construction photos. There may be a better way to make this, but this is what I came up with.
I cut out the front and back pattern pieces on my orange fabric first. I skipped the center back seam and just cut the back on the fold. It slips over my head just fine.
 Then, under the
 judgy watchful eye of my assistant. I cut my back piece out of the fabric lining it up with the scallops showing out the bottom. I then cut the front piece out of my lace off the other side of my fabric to use the scallop edge. I lined up the front and back pieces using the waist notches to be sure the hems would line up on the shirt. Be sure to pay attention that you are using the right side of the lace on all of the pieces.
 For the sleeves I just matched the center dot at the top with a center of a scallop. I repeated that on both sleeves.

I hemmed the Voile being sure to make sure it was the same hem measurement on both the front and back pieces. I then sewed the voile and lace right sides together at the neck line only.
 I under stitched the seam allowance to the lining and trimmed the excess.
 I then flipped the piece right sides out.

Here is how the neckline looks on. I think it is fairly clean. Lining this way also eliminated the neck facings.
 I then basted all the way around across the shoulder lines, down the arm hole and to the bottom and treated both the lace and voile as one piece of fabric and constructed it from here starting with shoulder seams, side seams then sleeves. Idid not baste the two fabrics across the bottom. It is just loose. All the hemming was done!
 Be sure when sewing the shoulder seams that those inside seams line up well, otherwise they will be crooked looking.
I used this method because I did not want the lace darts to be visible. This was the dart pieces were encapsulated within the voile.
 The inside is decent looking. I zig zagged the edges because I feel like I have more control with it when sewing layers. I was afraid if I serged the edges I would cut something I didn't want to. Isn't that orange, um, orange? I really like the effect the lace has on it.
 I love it! And overall it only took about three hours. I can't wait to wear it some more. I think this lace overlay would make a cute simple dress too.

Multiple pieces went into this shirt, but I love the end results so much!
First, I love Nanette Lepore's lace over orange theme she has going on.
The above image is her Pep Rally Dress. I really like how the lace tones down the orange.
Second, I had a Groupon for Mood Fabrics burning a hole in my e-mail that I decided to spend on the lace I really liked (way too expensive otherwise) as well as some sateen for some Sallie Oh inspired Clovers.
Third, when I got the lace I knew I had to make use of the scalloped edges.
So, I went to a pattern I really like with simple lines, Simplicity 2599. I skipped the embellishments, but I really like the fit of the pattern over all.
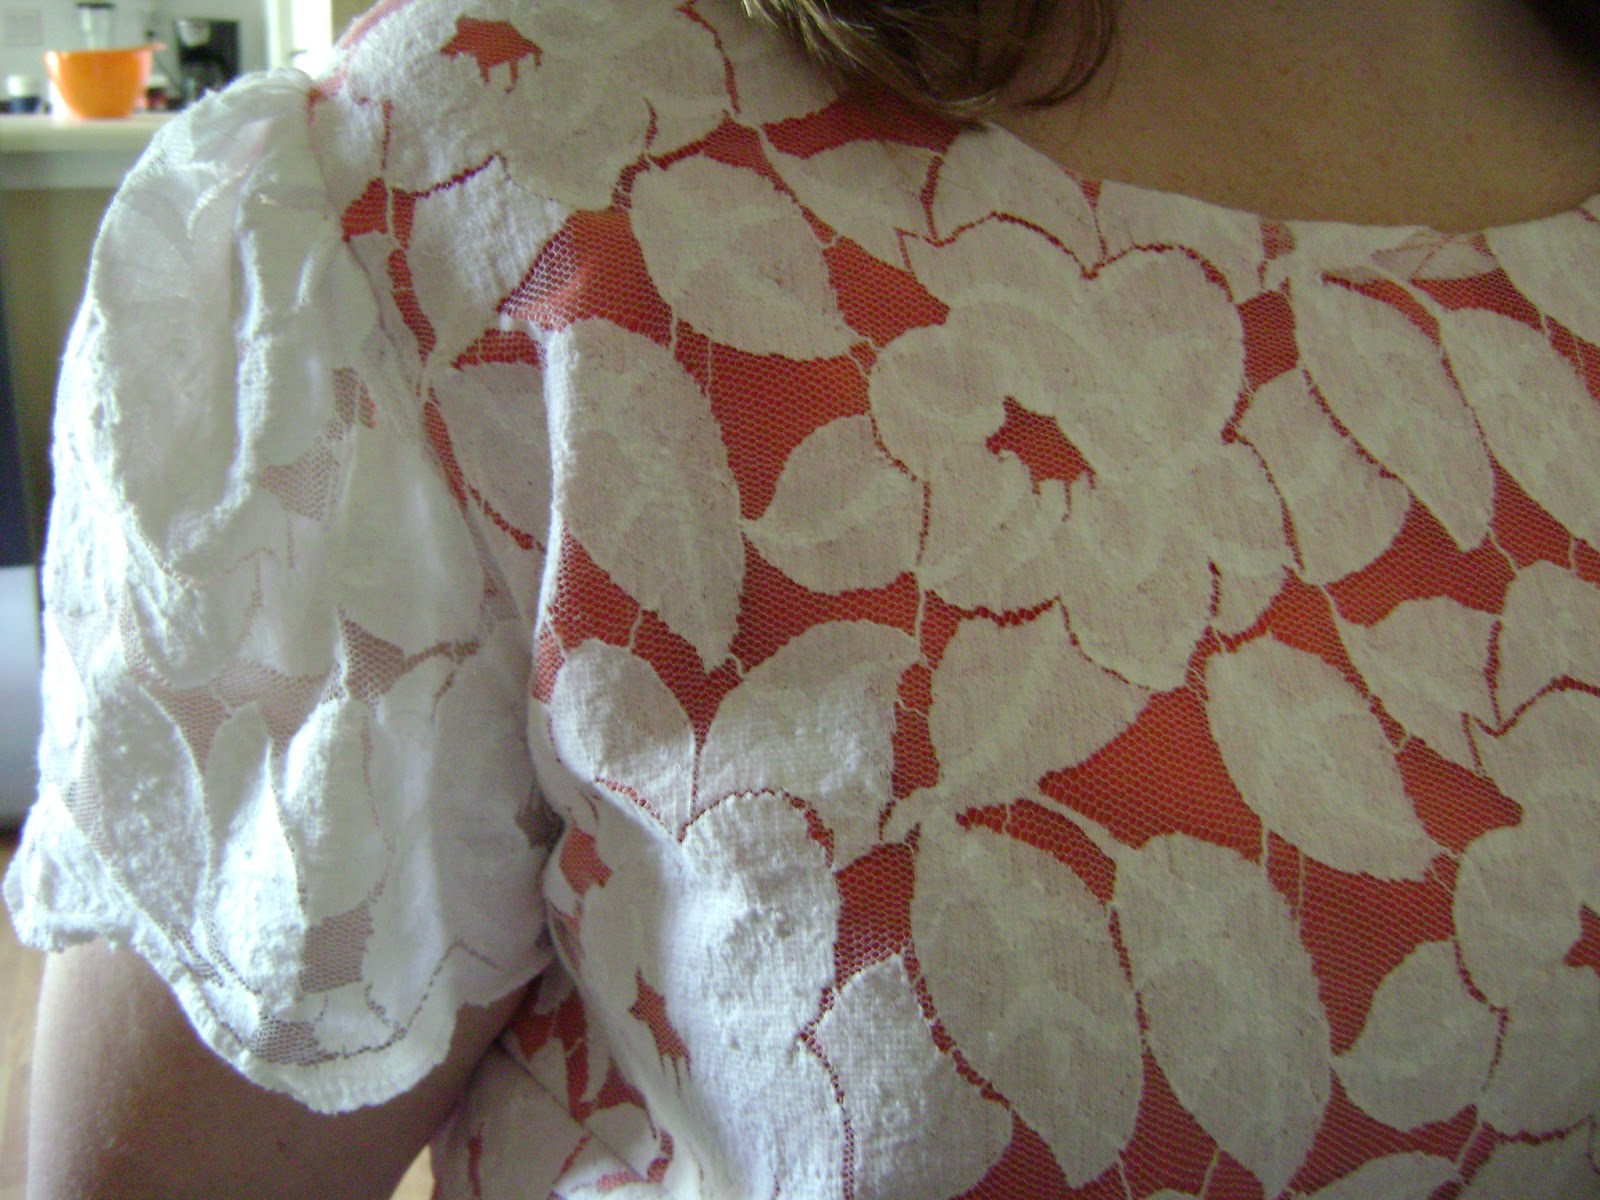
I lined the shirt with a bright orange Voile, but left the sleeves as just lace.


Now if you are interested I took some construction photos. There may be a better way to make this, but this is what I came up with.
I cut out the front and back pattern pieces on my orange fabric first. I skipped the center back seam and just cut the back on the fold. It slips over my head just fine.


I hemmed the Voile being sure to make sure it was the same hem measurement on both the front and back pieces. I then sewed the voile and lace right sides together at the neck line only.


Here is how the neckline looks on. I think it is fairly clean. Lining this way also eliminated the neck facings.


I used this method because I did not want the lace darts to be visible. This was the dart pieces were encapsulated within the voile.


